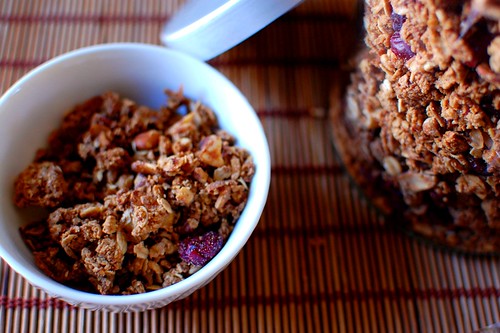
This recipe, unfortunately is not from Magnolia. But, this is the first cinnamon roll recipe that I mastered. My mother has a divine, decadent one from the Lion House that I inherited. But I'm scared of it. It requires dough hooks for an extremely sticky dough, which results in a heavenly, moist cinnamon roll. I used to make them perfectly, and then one day my world crashed down around me, and every time I made them they flopped. So, this is my standby.
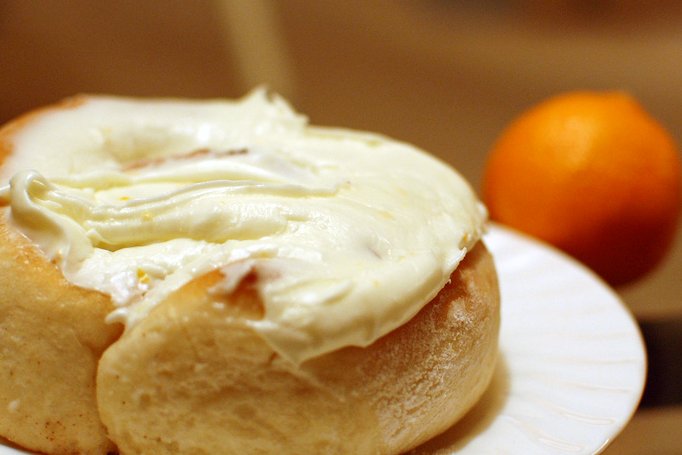
Today, I made these rolls with the regular cinnamon-sugar filling. Then I added some alterations: coarsely chopped walnuts and some clementine juice and zest to cream cheese frosting. The frosting is typically more of an icing, but I'm a cream cheese fan. And I was the one making them. The result of my hard labor?
I ate three.
By myself.
And I don't regret it. I'm excited for breakfast so I can eat more. Don said they were, "awesome". Which is high praise. Especially since he's not a frosting freak like I am. Some times I don't know how we got together.
The thing that I like about this recipe is that Holly Hipps (a neighbor of my in-laws, and a baker to boot) has broken it down into a pretty idiot proof recipe (which I definitely needed until this last year before yeast and I became friends). Don almost didn't let me share this recipe, because it is held sacred in his family. It's that good. Did I mention that cinnamon rolls are fun to make? It's the grown-ups way of playing in the mud. I prefer to do
everything by hand, stirring, kneading, spreading the butter, cinnamon sugar, etc. There are very few tools and clean-up needed that way. And it makes me feel like I'm five again, making mud pies. That's where it all started.
So, here it is:
Ingredients:
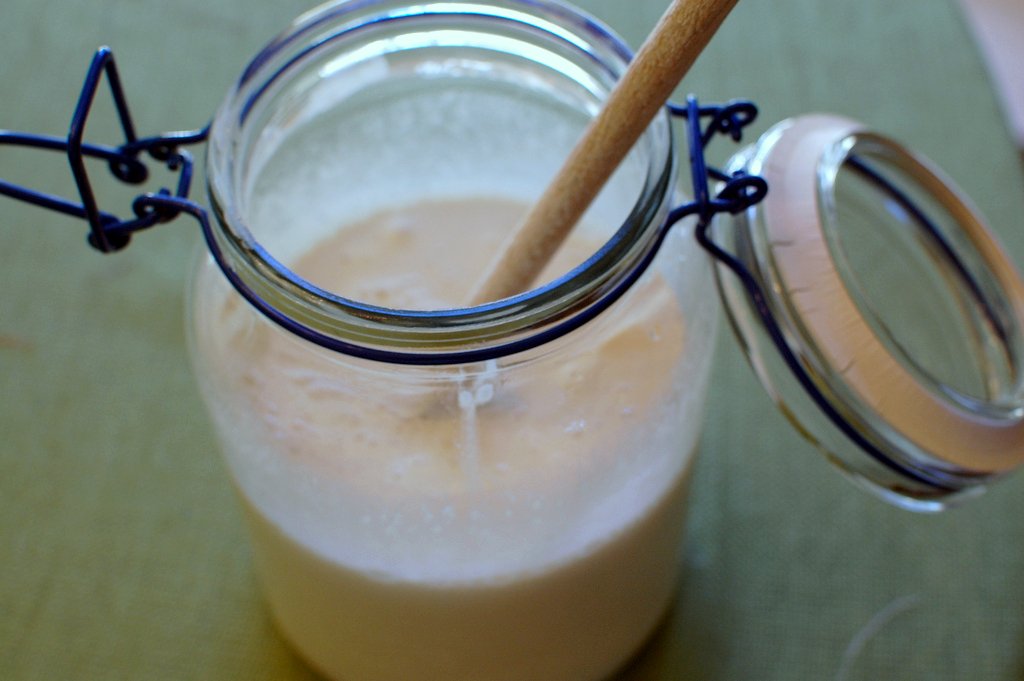
Dissolve:
- 1/2 c. warm water
- 2 TBSP dry yeast
- 1 TBSP sugar
Melt together:
- 1 1/2 c. water
- 3/4 c. shortening
Mix:
- 4 eggs, beaten
- 3/4 c. sugar
- 2 tsp salt
Add the
cooled shortening mixture to the yeast mixture, You don't want to add it hot because you'll kill your little yeast friends. Then add that to the egg mixture. Blend well, and add 7 cups of flour. Knead several times, place in a greased bowl in a warm, draft free place. (I like to fill a glass 9" x 13" cake pan half full of the hottest water I can get out of the tap and place it on the bottom rack of the oven. Then I cover the greased bowl, with it's contents, with a dish towel and let it rise).
Let double in size. You will know it is double the size when you stick your index finger in and it leaves an indentation in the dough. Punch down (my favorite part), roll out to about 1/2-1/4 inch flat in a rectangle shape. Soften one cube of butter, and spread with hands (or a pastry brush if you're a pansy) on the now rectangle dough. Make a cinnamon-sugar mixture (I guest-a-mate, but it works out, I did 3 TBSP of sugar to about a 1/2 tsp of cinnamon) and sprinkle THICKLY over the butter. There's nothing worse than bland cinnamon rolls. Sprinkle with coarsely chopped walnuts. Roll the long side to form a little cin-a-dough log. Then, (and this is my other favorite part), take a string and slip it underneath the log, then switch both strands from one hand to the other so that they are crossing, pull, and cut sections measuring about 1 inch wide. Place on buttered (because you're worth it) cookie sheet. Repeat with remaining dough. Let rise until double the size. Bake at 375 for 20 minutes (mine were a little less, ovens vary, so check on your rolls, if the smell done, they probably are).
Frosting:
- 3 TBSP butter
- 1 pkg. cream cheese, at room temperature
- 2 to 3 cups of powdered sugar
- about 1 TBSP fresh clementine juice (or to taste)
- 1 to 2 tsp(s) of clementine zest
Clementine Frosting:
Combine butter and cream cheese, beat with a mixer until light and fluffy. Add sugar, one cup at a time until mixture reaches spreading consistency. Add juice and zest.
The juice will change the consistency of the frosting, so you might need to add more sugar.
Alternate Icing:
- 1/2 c. margarine/butter
- 1 tsp. vanilla
- 2 c. powdered sugar
Mix all ingredients and add enough canned milk until smooth. Frost over cooled sweet rolls.
Spread icing/frosting with a rubber spatula on cooled cinnamon rolls. Or, if you're like me, warm rolls since I can never wait until they cool to eat them, and I like the half-melted frosting look.
![[erin's star signature]](http://farm4.static.flickr.com/3230/3048671754_d0e3f03290.jpg?v=0)


