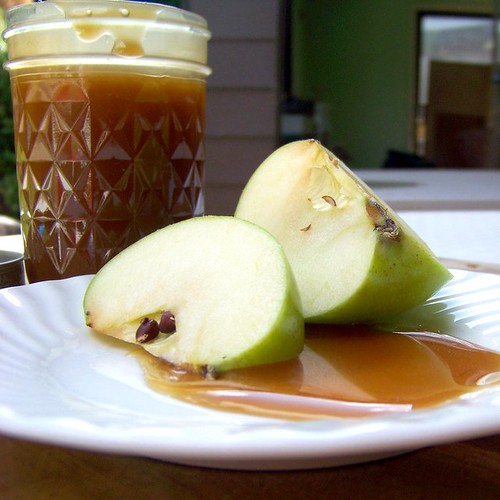
I am about to share with you my favorite biscuit recipe. It's from the same cookbook that the previous caramel sauce recipe is from,
The Essential Mormon Cookbook. I got it after I'd been married for a few months to Don, because I was all about being the cute little wife that sent him to work with cookies and stuff like that. Over the years, the book has been worth it's weight in gold. It is one of my favorite cookbooks. The woman knows what she is doing, we'll just say that.
Anyway, it wasn't until this summer that I decided to try out this recipe. I was raised on my Grandfather Leavitt's baking powder biscuits, and these are nothing like them. They have yeast, which makes them taste like a cross between a roll and a biscuit. They're good. On the "Donald rating scale", which is how I rate all of my meals, this one got two grunts...which has hardly been achieved in the four years that we've been married. It's that good.
So, I give you.....
Bride's Biscuits!!
Here are the ingredients you'll be using:
We've got-
- 1 pkg. active dry yeast (or in my case 2 1/4 tsp. = 1 pkg)
- 1/2 cup warm water
- 5 cups flour
- 3 tbsp sugar
- 1 tbsp baking powder
- 1 tsp baking soda
- 1 tsp salt
- 1 cup shortening or butter
- 2 cups buttermilk
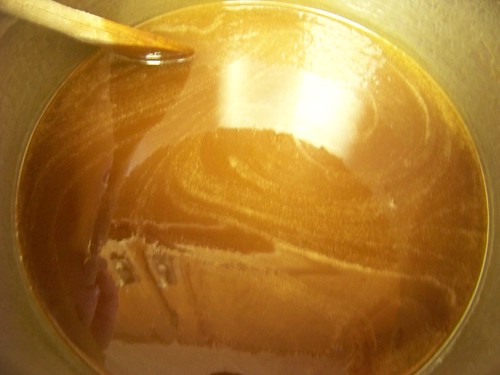
Now, I don't know if you're like me or not, but I usually don't have buttermilk in my house. I just don't use it that often. So, I sour my milk by adding 1 tbsp of lemon juice/vinegar (whatever I have the most of on hand at the time) to 1 cup of milk, and then let it sit for 5 minutes before using it. Here's a picture of how the sour milk looks after five minutes. I like to do this step first, just because it makes me happy, and that way I have all of the official ingredients.
Next, you'll want to take your yeast and dissolve it in the 1/2 of
warm water
. The way I get the water temperature right it by testing it on the inside of my wrist (this is a trick I learned from my mother) if the water feels too hot on your wrist, it probably is. You want comfortably warm water for our little yeast friends to be able to work their magic. It will take about 10 minutes for the yeast to dissolve like so:
Next, sift your flour, sugar, baking powder, baking soda and salt in a large bowl. Mine is an expensive looking blue plastic bowl...okay, it's a cheap plastic bowl that I probably stole from a college roommate. But it works marvelously anyway. It's a lot to sift, and I usually avoid sifting if I can, but for these biscuits it is vital for their nice, light texture. It's worth it, just bare with me!
Cut in your shortening or butter. I did half and half just to experiment, and they turned out pretty good. But if you can do all butter, then to it..or you can use butter flavored shortening (which I never have, so let me know how it turns out). Here's a little trick that I like to do whenever I use shortening, I hate, hate, hate having to wash the shortening out of measuring cups. The greasy little bugger never comes out. So, I do this:
Ta-da! This way you can go on with your jolly 'ol baking, and not have to stop in between and try and degrease your measuring cup. I know, it's life changing. Aren't you glad you're reading this??
Mix the butter/shortening with a pastry blender or two knives until you have a coarse meal. Then mix in your yeast and buttermilk until the dough is just uniformly wet.
Like so:
Then the dough needs to rest. Cover it and put it in the fridge for several hours before you bake it. The great thing about this dough is that it can last up to one week in the fridge, making it so that you can just pull it out, roll, bake and have flaky biscuits ready in no time, and no one will know that you didn't slave all day.
I didn't take pictures of rolling out or cutting the dough, I was in a hurry and pretty hungry...and I forgot. But, roll the dough out to about 1/2", and cut it with a 2 1/2" biscuit cutter...or, if you're like me and don't own a biscuit cutter, I use a wide mouth glass. It works great. (How is it possible to have a madeleine pan, but not a biscuit cutter?? I don't know, but that's where my priorities are.) Place the biscuits on a greased cookie sheet and bake at 400 degrees for 15 minutes or until golden. I love how these little puppies rise in the oven. It's truely beautiful, and makes me filled with excitement. I'm a simple pleasures person, and I really like food. This will make about 3 dozen biscuits.
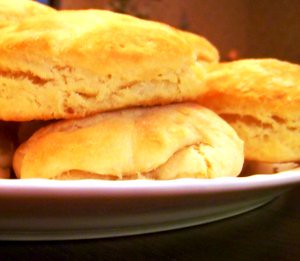
And here is the finished product! These have always turned out, and like I said, they got two Don grunts, which is really, really, really good. But then, he's a biscuit person.
![[erin's star signature]](https://lh3.googleusercontent.com/blogger_img_proxy/AEn0k_tRzn216IJJfitgezndKJWrUS8VyVGWHA7F5zPcgwwGUwlP55So7gEtBCD3TjLLGRXb_Y1htQ88jeGBoTpg6H5VEqt03i8meU71Z4DkXWLerycjqAZ1iXiPWnNaGppYWwZDNBUf=s0-d)